
We now offer a custom designed items!!!! yes that’s right you can submit your own art work or images and we will print your designs for you. The best part is even if you don’t have access to photoshop or you’re not a graphic designer, its not a problem at all!!! With the image editing based platform picmonkey.com you can easily edit images for your artwork and even add your own text. If you’re advanced and have photoshop skip this read and go back to the page to download the .PSD template for the item you want to customize.
Here’s a how to guide for everyone else:
1. Once you click the  button you will be taken to the picmonkey site where your template file is already open and ready for editing.
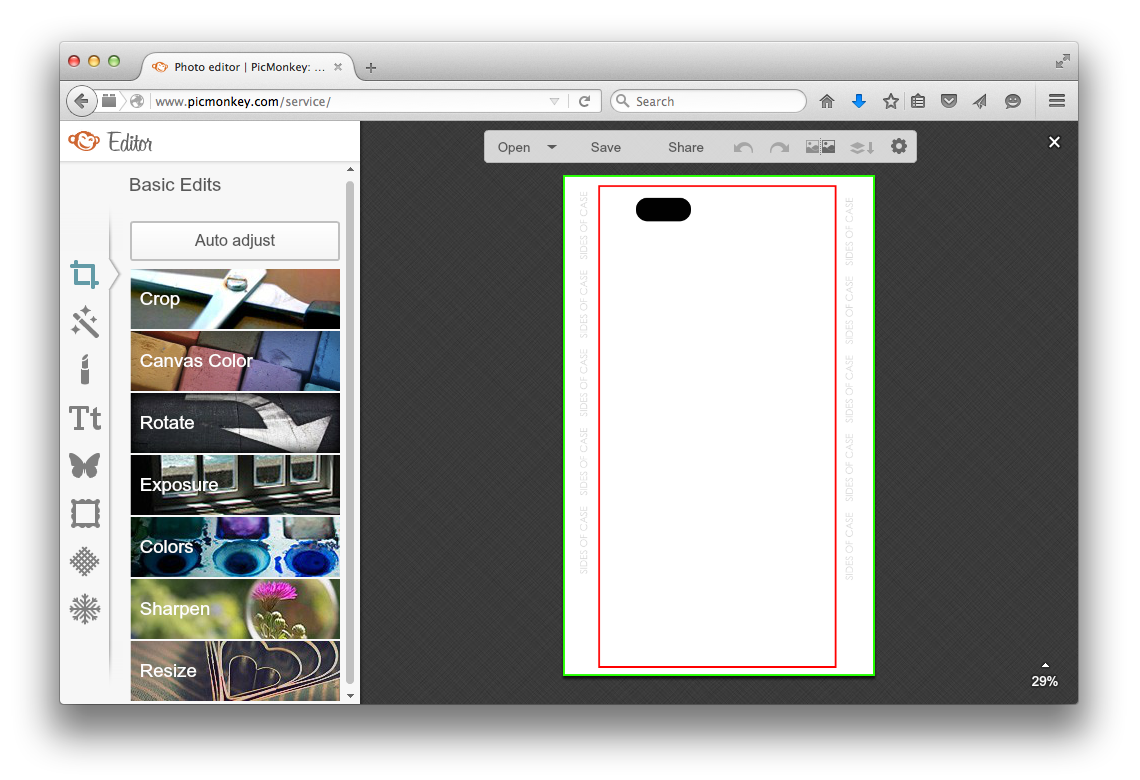
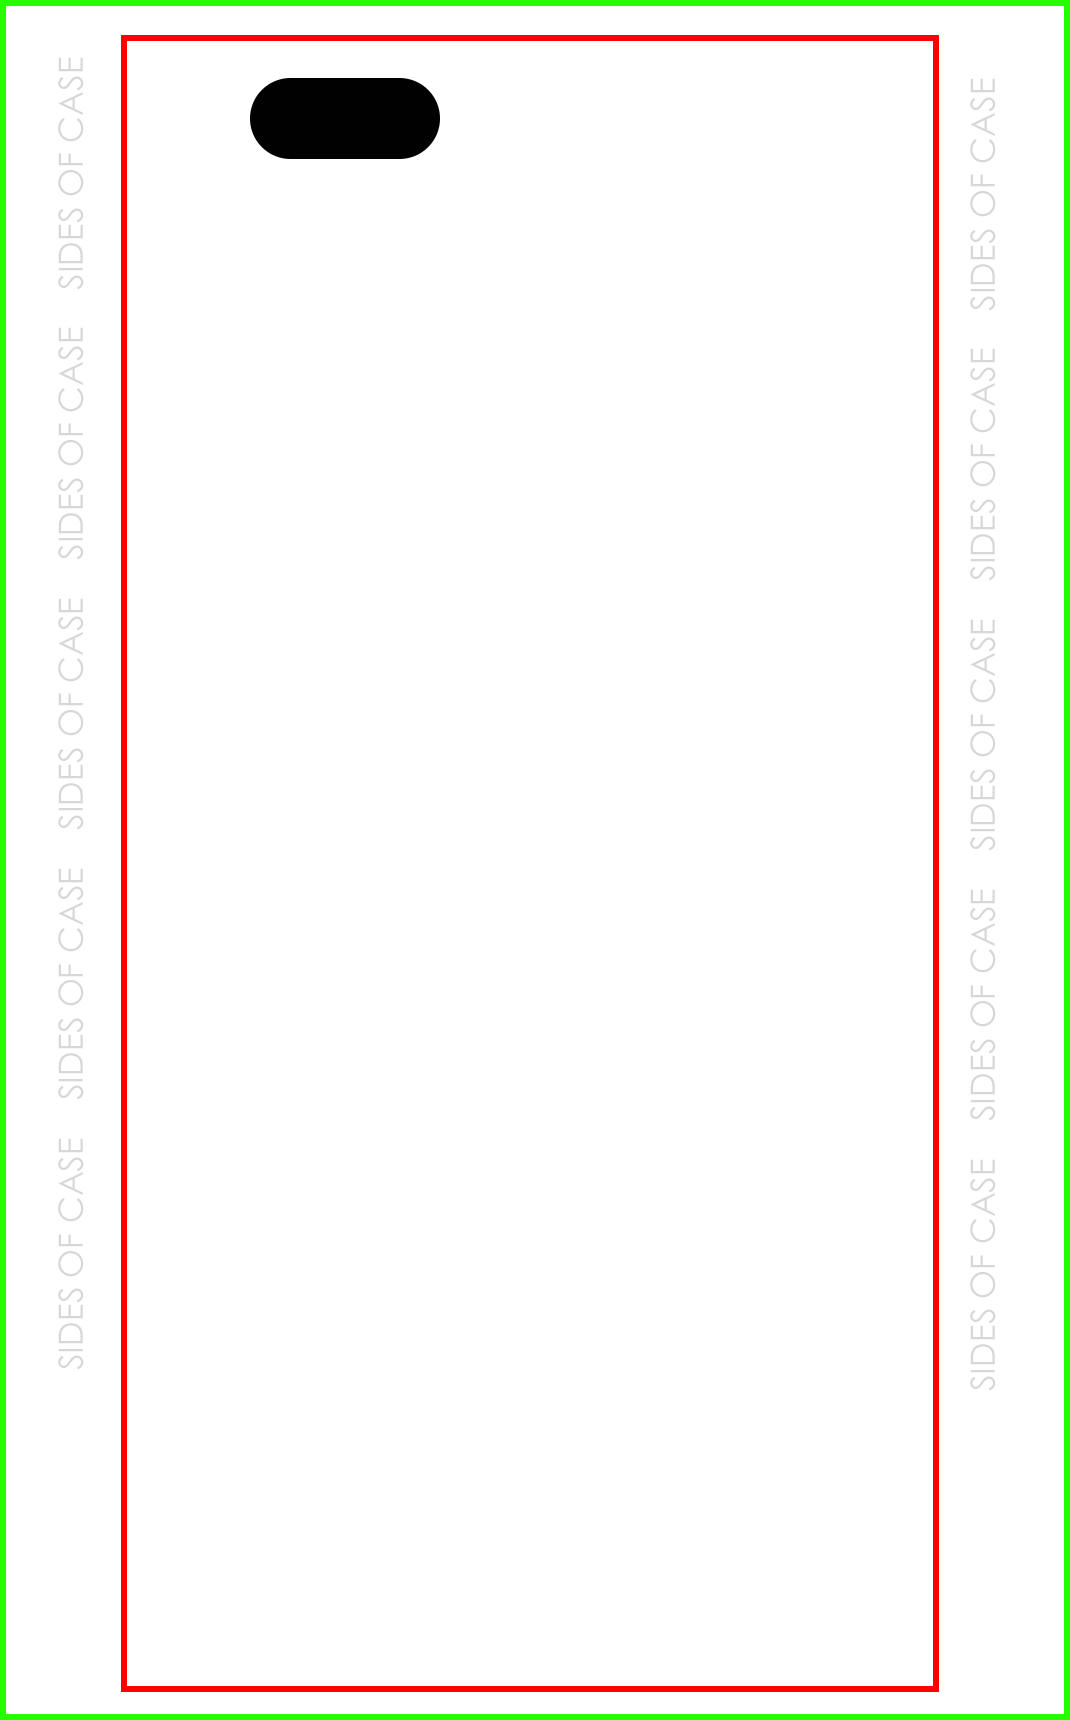
2. You will notice your template has guidelines and maybe even instructions. The most important thing to note is the Red Guidelines are where you keep the main artwork and text inside of so they are properly displayed and the Green Guidelines are where your artworks background needs to extend to so that there is no white showing, unless of course you are going for a white background.
3. The first thing you will want to do once you’re ready to begin editing is likely upload your own personal image into picmonkey. I like to upload my foreground images into the template first and the background at the very end. So that I can position everything inside of the guidelines correctly. If you don’t have images and need some scroll down to the “Finding Image Resources Online” part of the tutorial.
To upload a picture click the “Butterfly” icon to your left then select the “Your Own” dropdown button. It will open up a popup so you can access files on your computer & other places to.
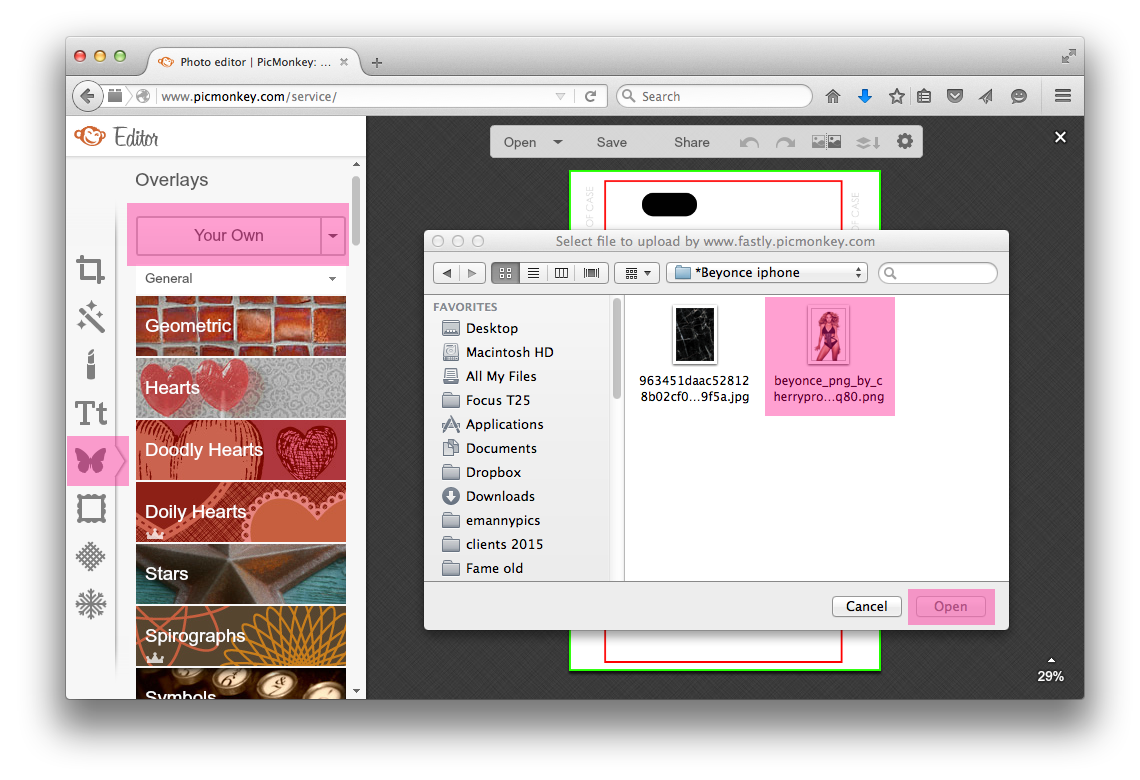
TIP: To speed up my workflow I like to gather my images for my project and put them all in one folder so every time I want to insert a picture from my computer I don’t have to open up several folders to get to it. The last folder you selected to upload an image from will usually be what opens the next time you go to access it.
4. Your image will open and likely be a small thumbnail. What you want to do is right click the image and select “Original Size”. This will make the image it’s full size. You can then position it where you want, make it smaller, rotate it & use many other tools to add effects.
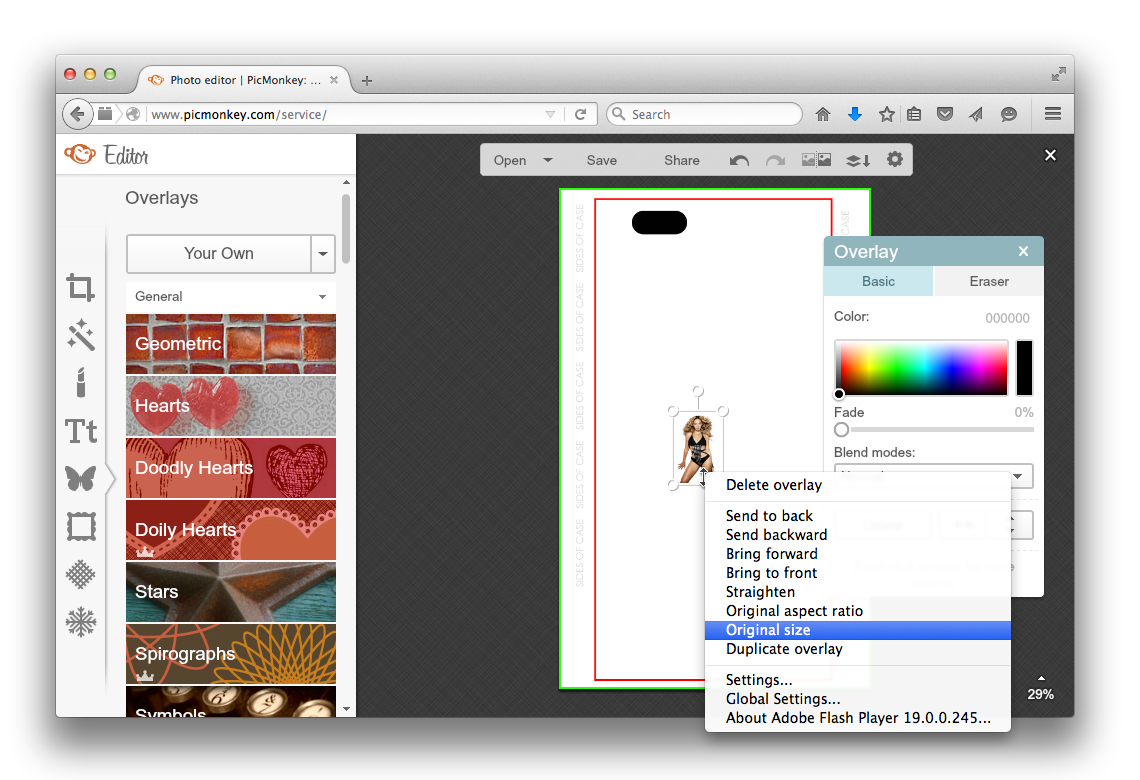
TIP: Make sure you use high res images so they are big enough to fit the template. Do not stretch images larger than the original size because they will get blurry. You may make them smaller without worrying about the quality degrading.
5. Now we are going to use the text tool to add and position our text. Once you select the tool it may take a while to load. You can use their fonts or the ones you have stored on your computer by selecting the option for either. Click the “Add text” button then default text will appear in your file. Type into the box and then you can change the size, position, color and even rotate your text and add other cool effects.

6. Lastly I am going to add in my background image by selecting the “Butterfly” icon again and uploading an image. Remember to right click and select “Original Size” again then position it. You may notice it’s covering everything including your guidelines, if it is you can use the tool box to change the “blend mode” or the “fade” so you can see everything underneath so you can position your background correctly and then you can change those settings back to Blend Mode “Normal” or Fade “0%”

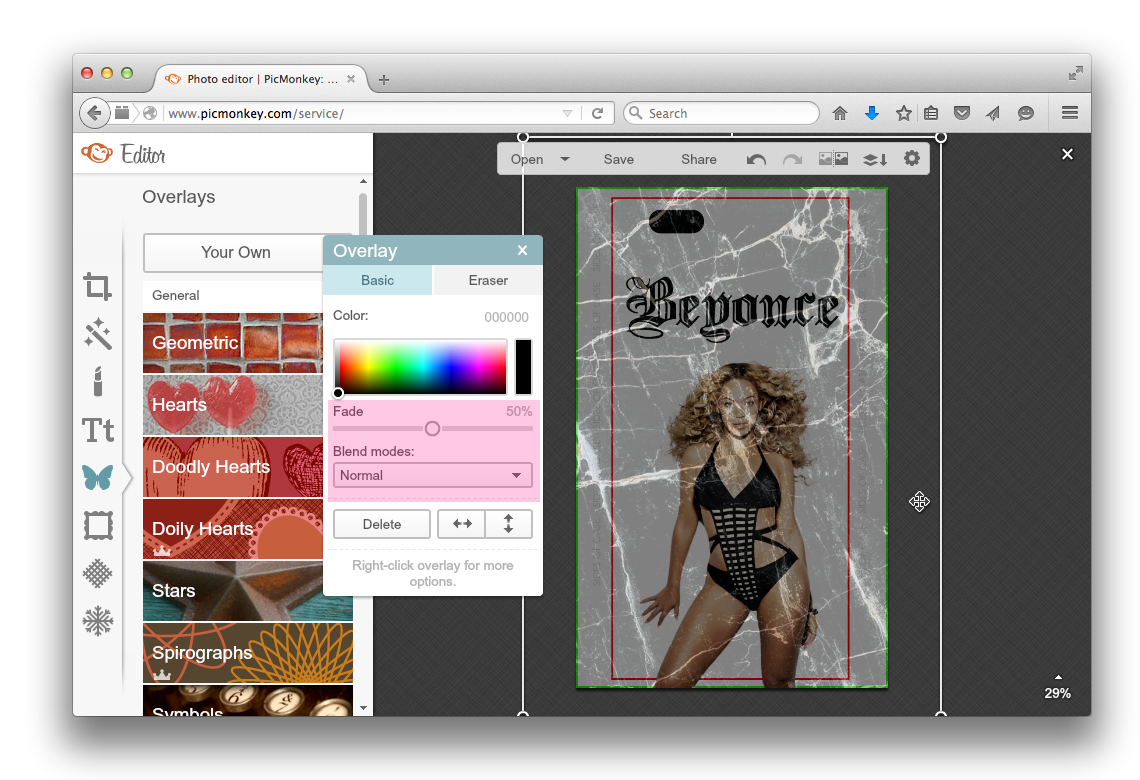
TIP: if you use the “Blend Mode” option keep in mind you will have to play with the options in the drop down because every pictures colors will react differently to each setting and being transparent. Sometimes it is just works better using the “Fade” option.
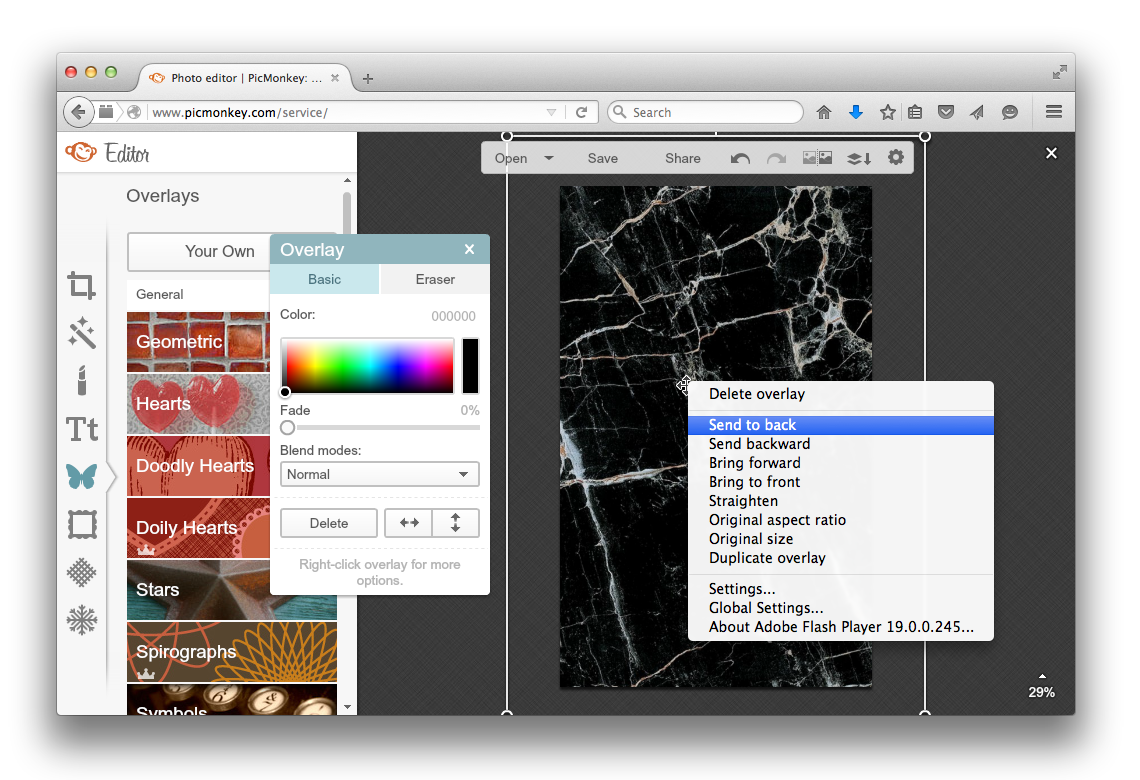
7. Now that you have your background positioned and you have returned the blend mode or fade to its normal settings you need to right click the image and select “Send to Back” this will put the background behind every other layer (image)
8. Now when you’re happy with your images edits you can click the save button at the top of your work area. Please make sure there are no mistakes before saving your work because you will not be able to edit and will have to start over!!!
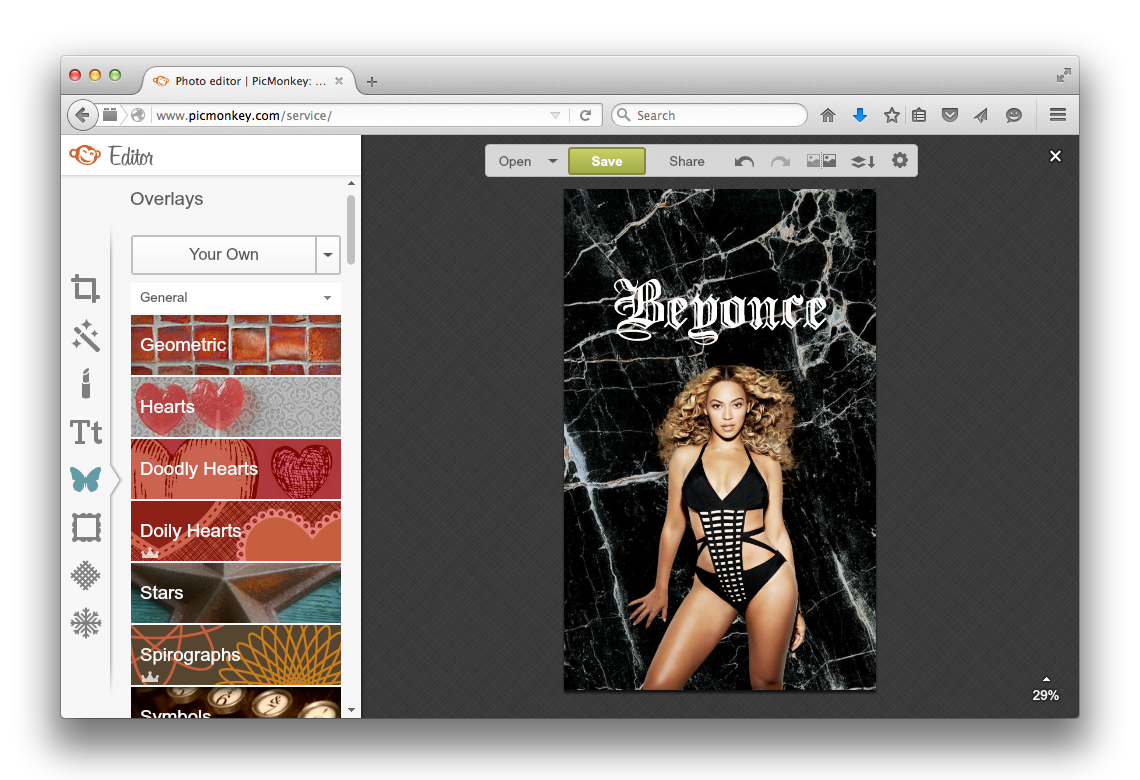
You will be redirected to a form to fill out so you may email us your artwork and you will even be provided with a preview of what it will look like.


